It’s been a while since I shared a DIY on my blog and I’m so excited! Did you know the name “donebymyself” was invented because I started out as a DIY blog? Well, now you do!
I came up with this DIY because I got to try the new wallpaper by Søstrene Grene, as their new catalogue is launching today. You can view it HERE. As I didn’t have a room to wallpaper, I decided to come up with a DIY project and knew immediately I would make a dollhouse for our 2-year old daughter Mia.
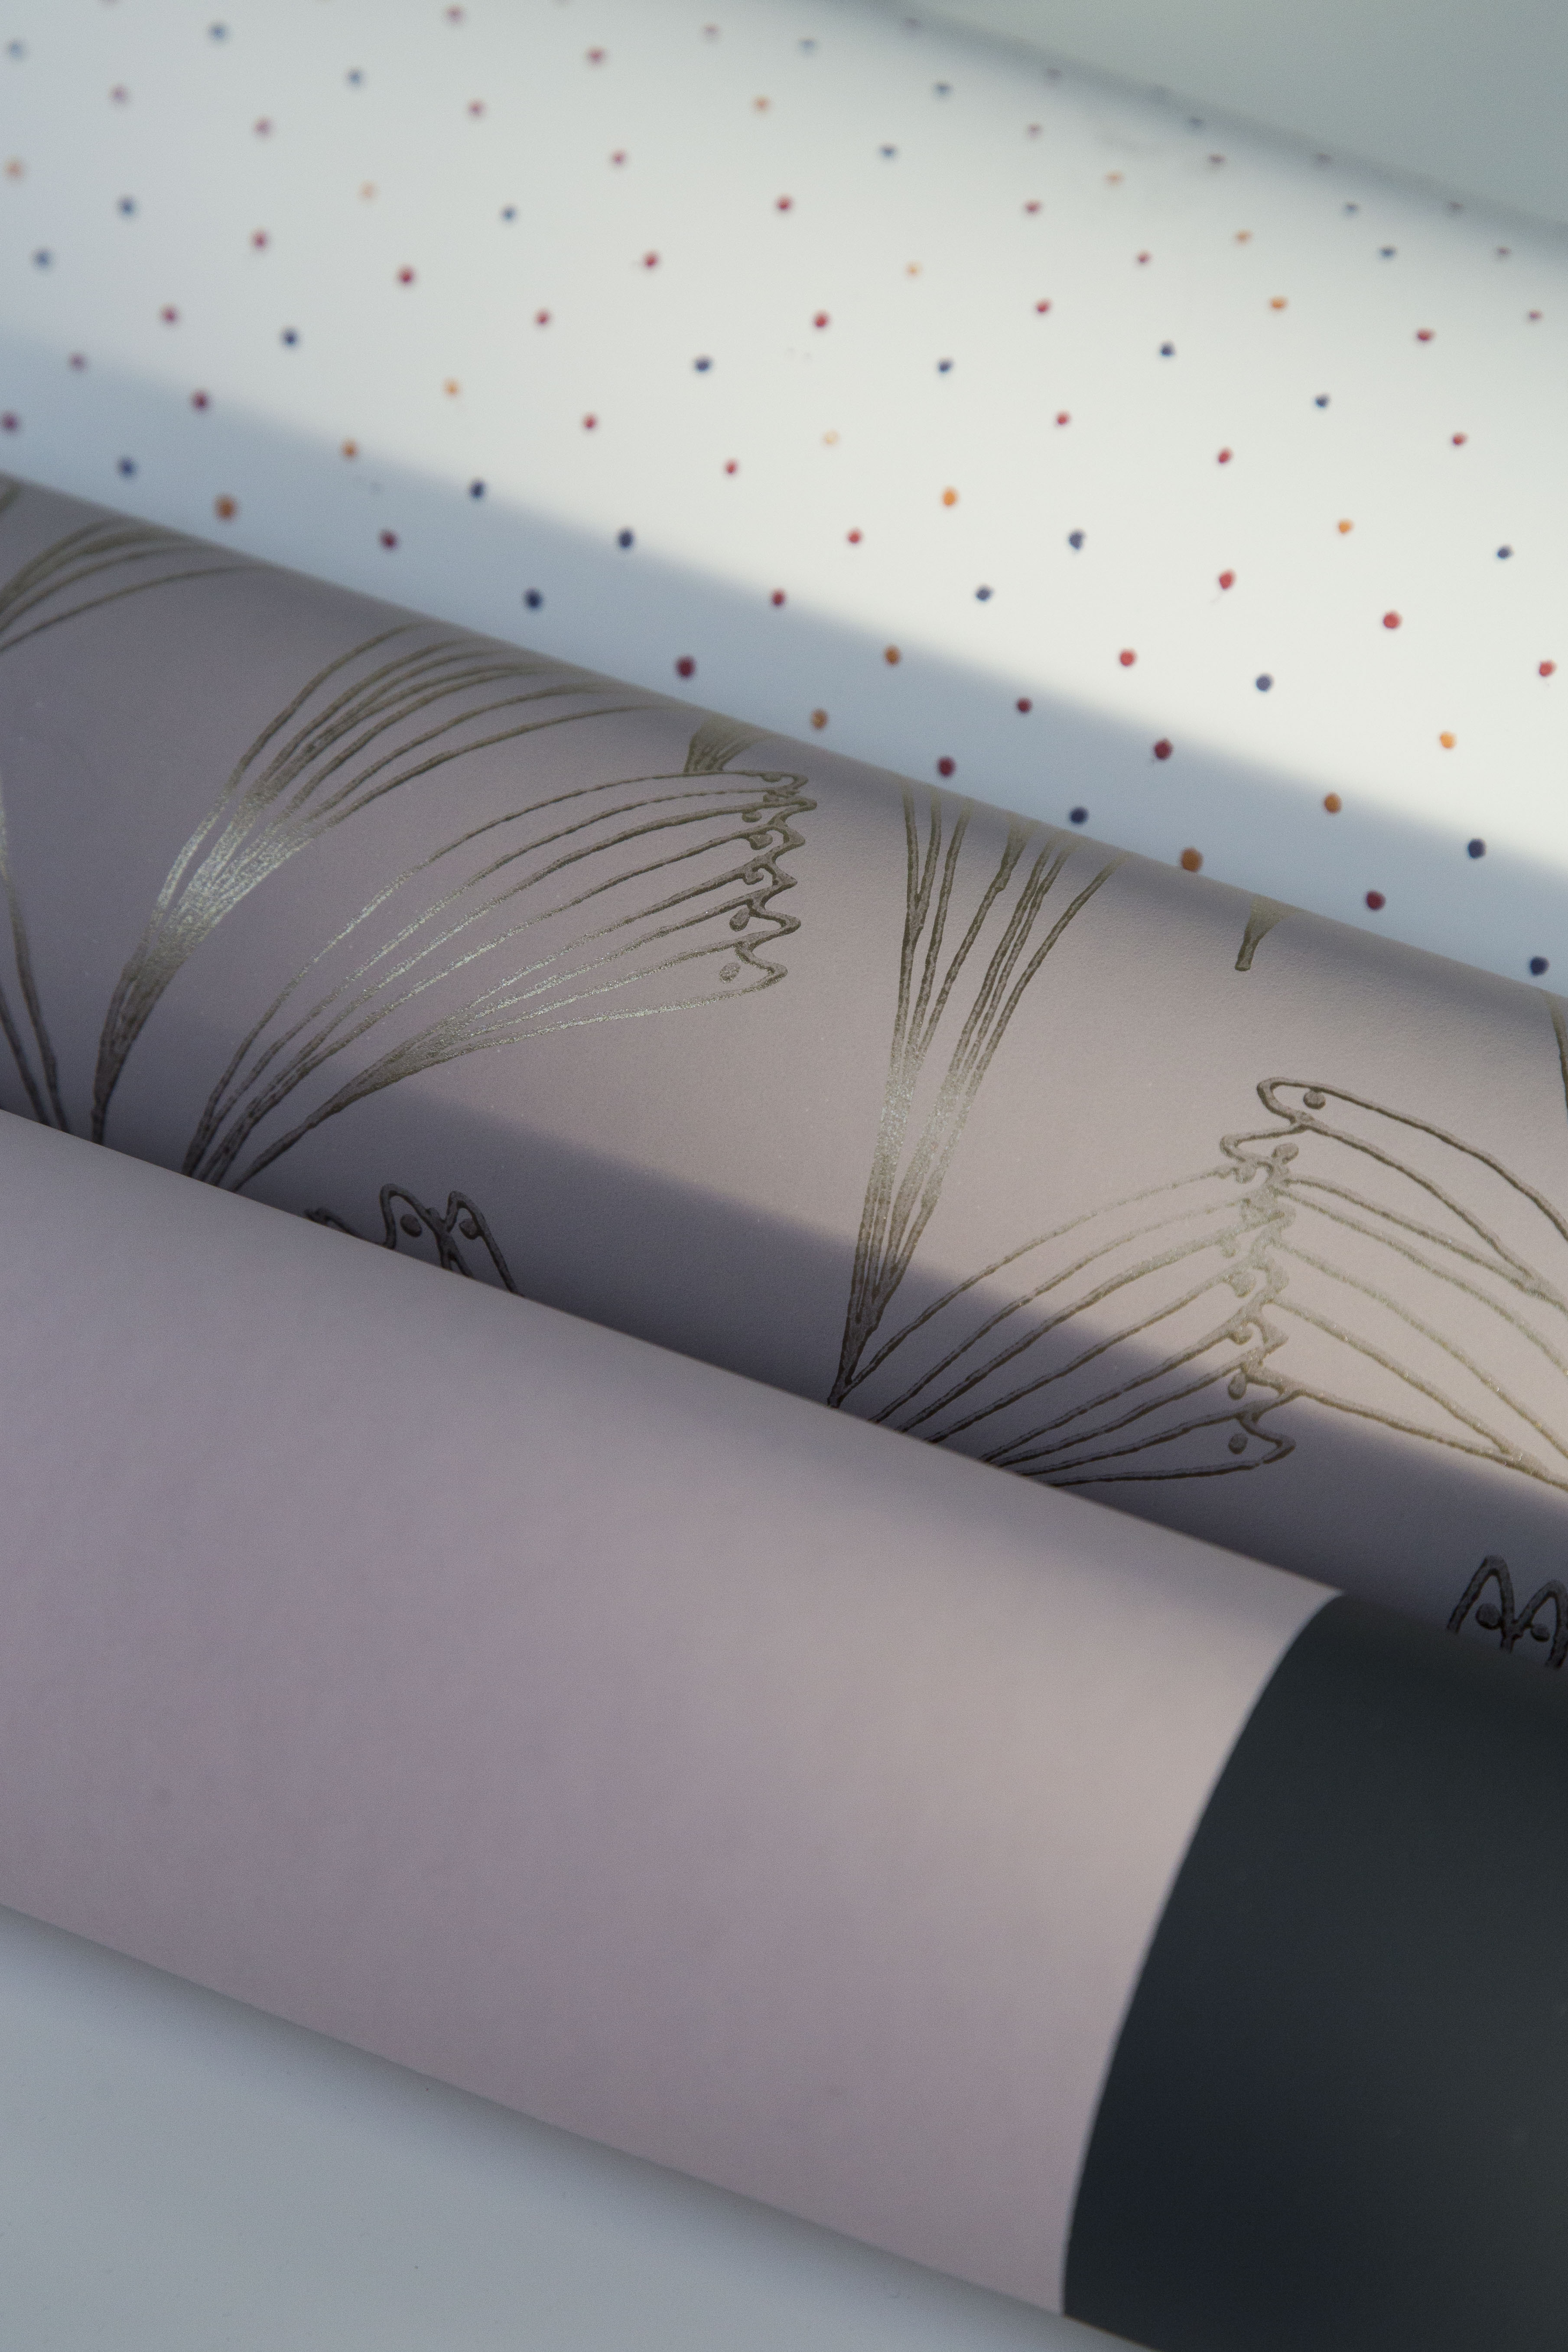
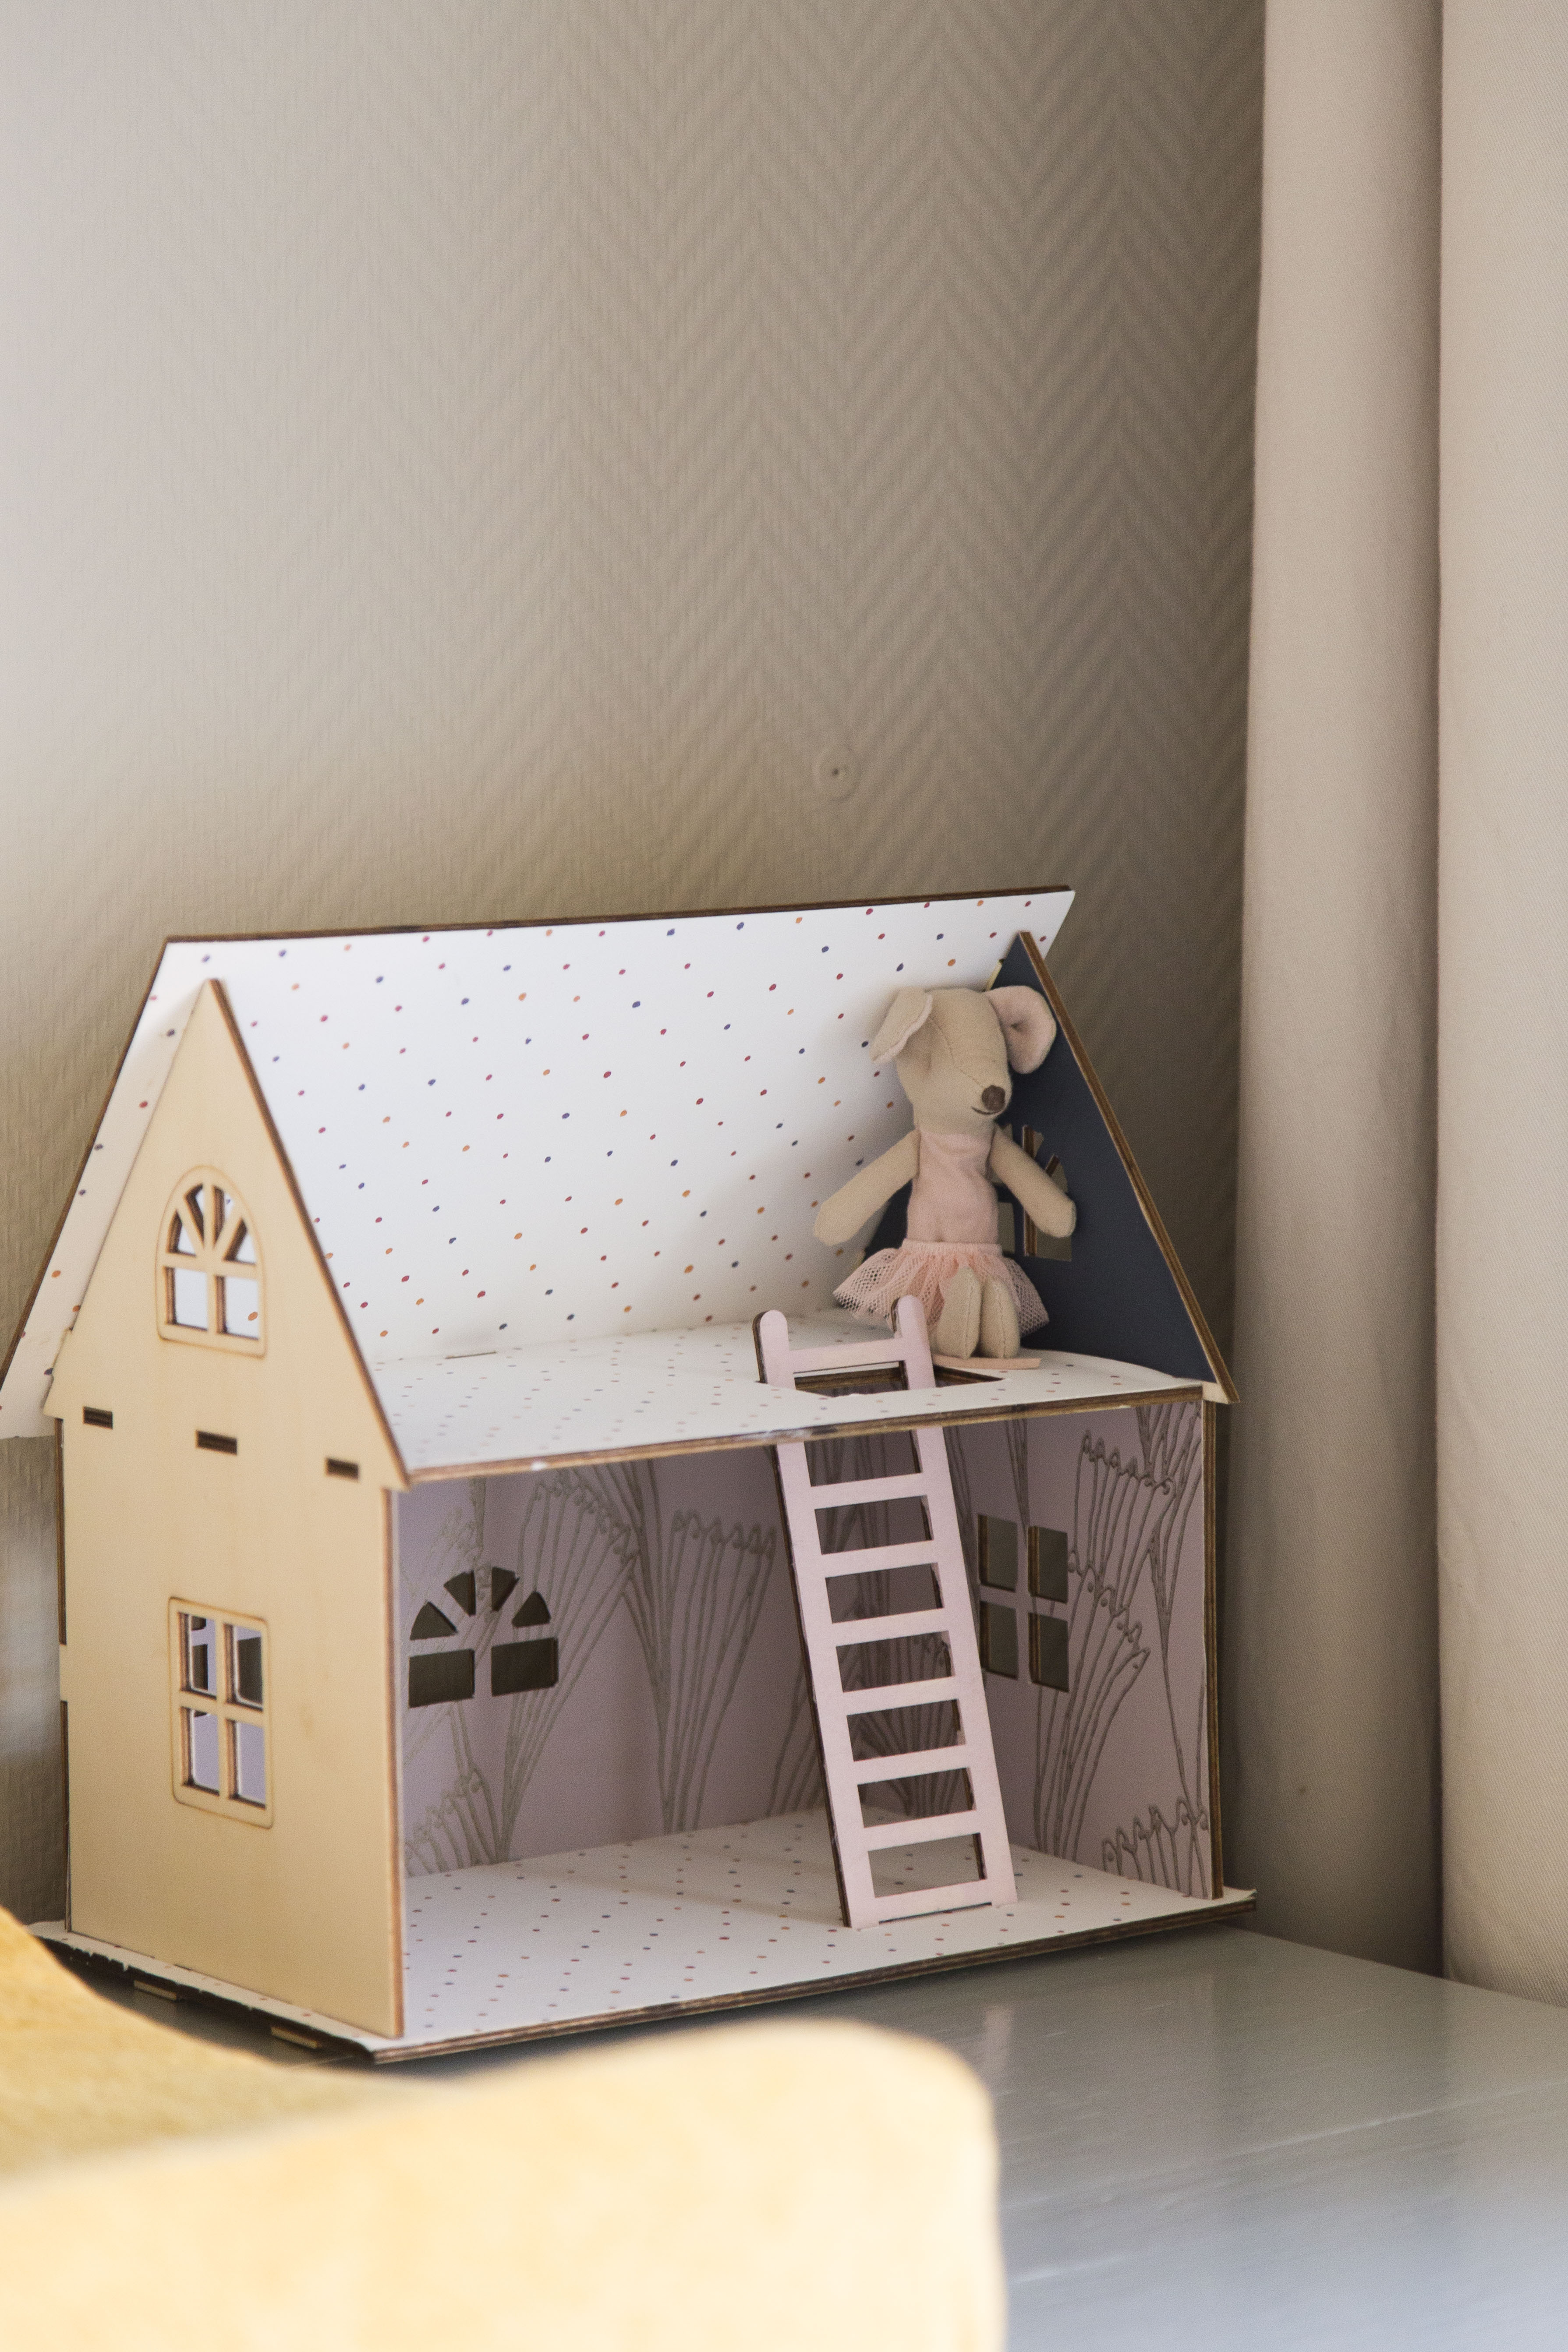
These were the three wallpapers I was gifted, and I feel they are the perfect fit for this dollhouse. The white dotted as my floors, the pink and gold for the “livingroom” and I used the grey striped for a cosy “bedroom”. Let me walk you through all the steps for this DIY dollhouse!
As making my own dollhouse felt like a little too much, I googled “DIY dollhouse” and bought this wooden one. Perfect, as it’s much easier to wallpaper something if it’s not put together already.
What you’ll need:
- Wallpaper
- Dollhouse of choice
- Wallpaper glue
- Stanley knife
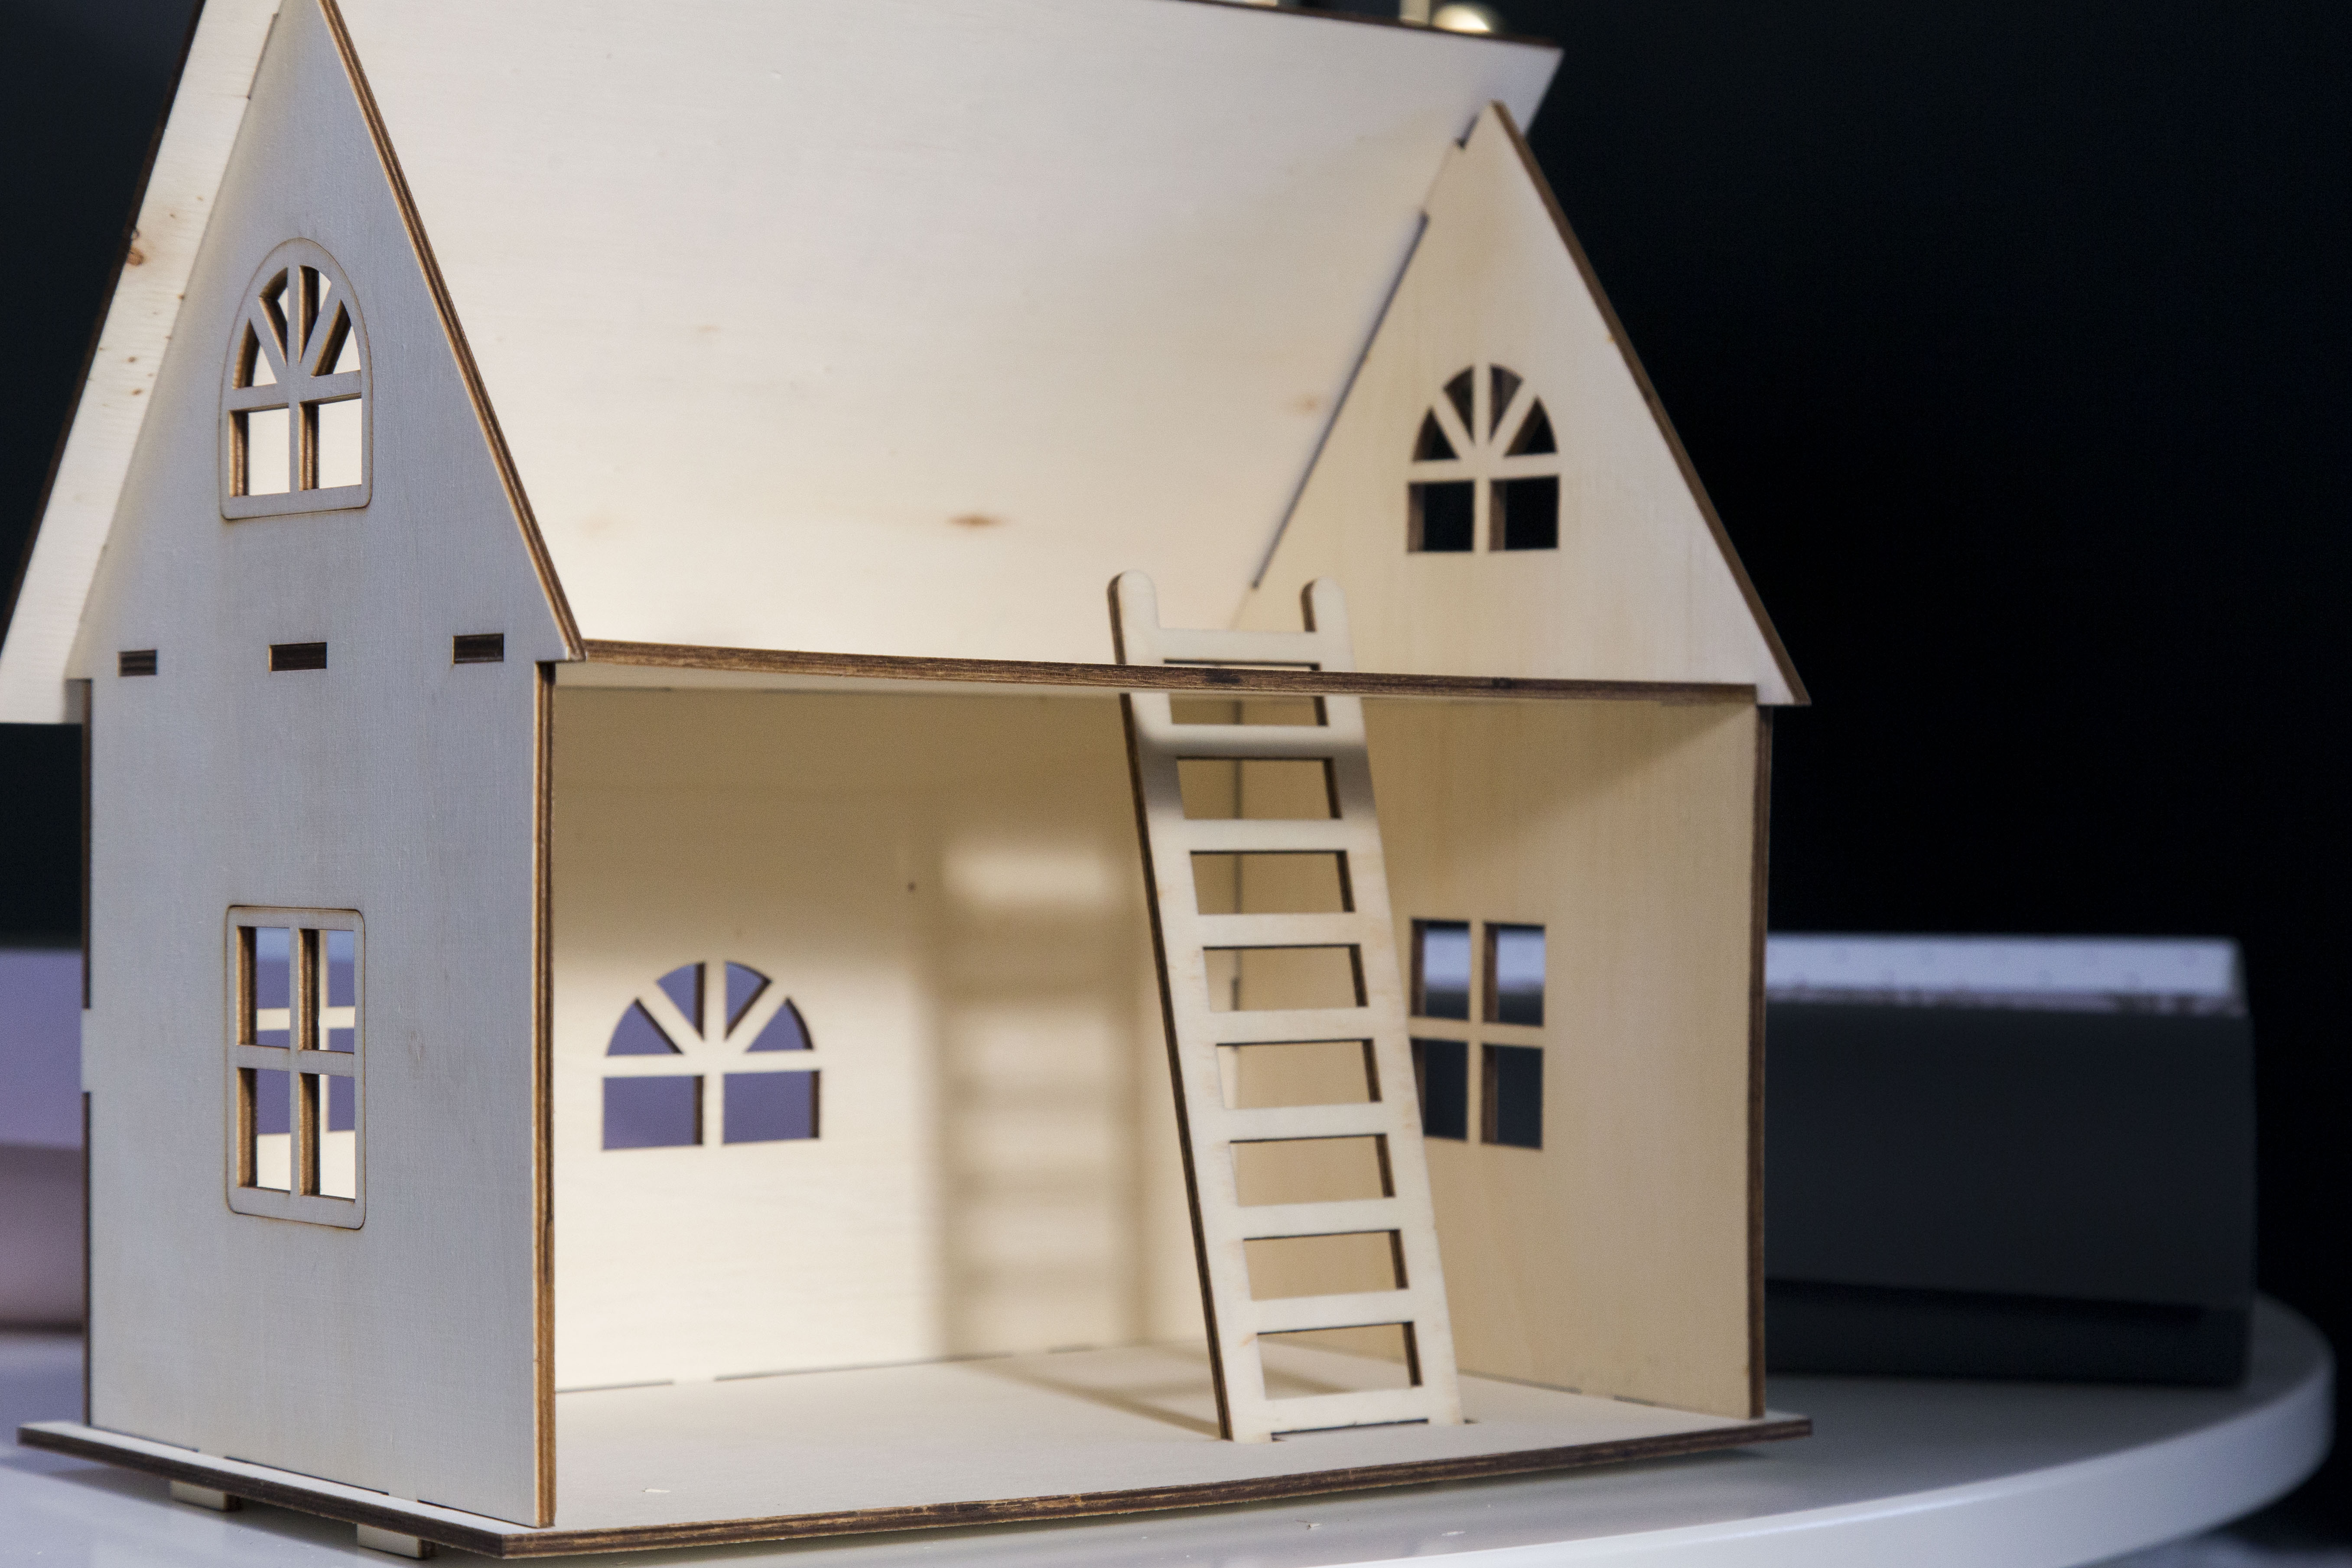
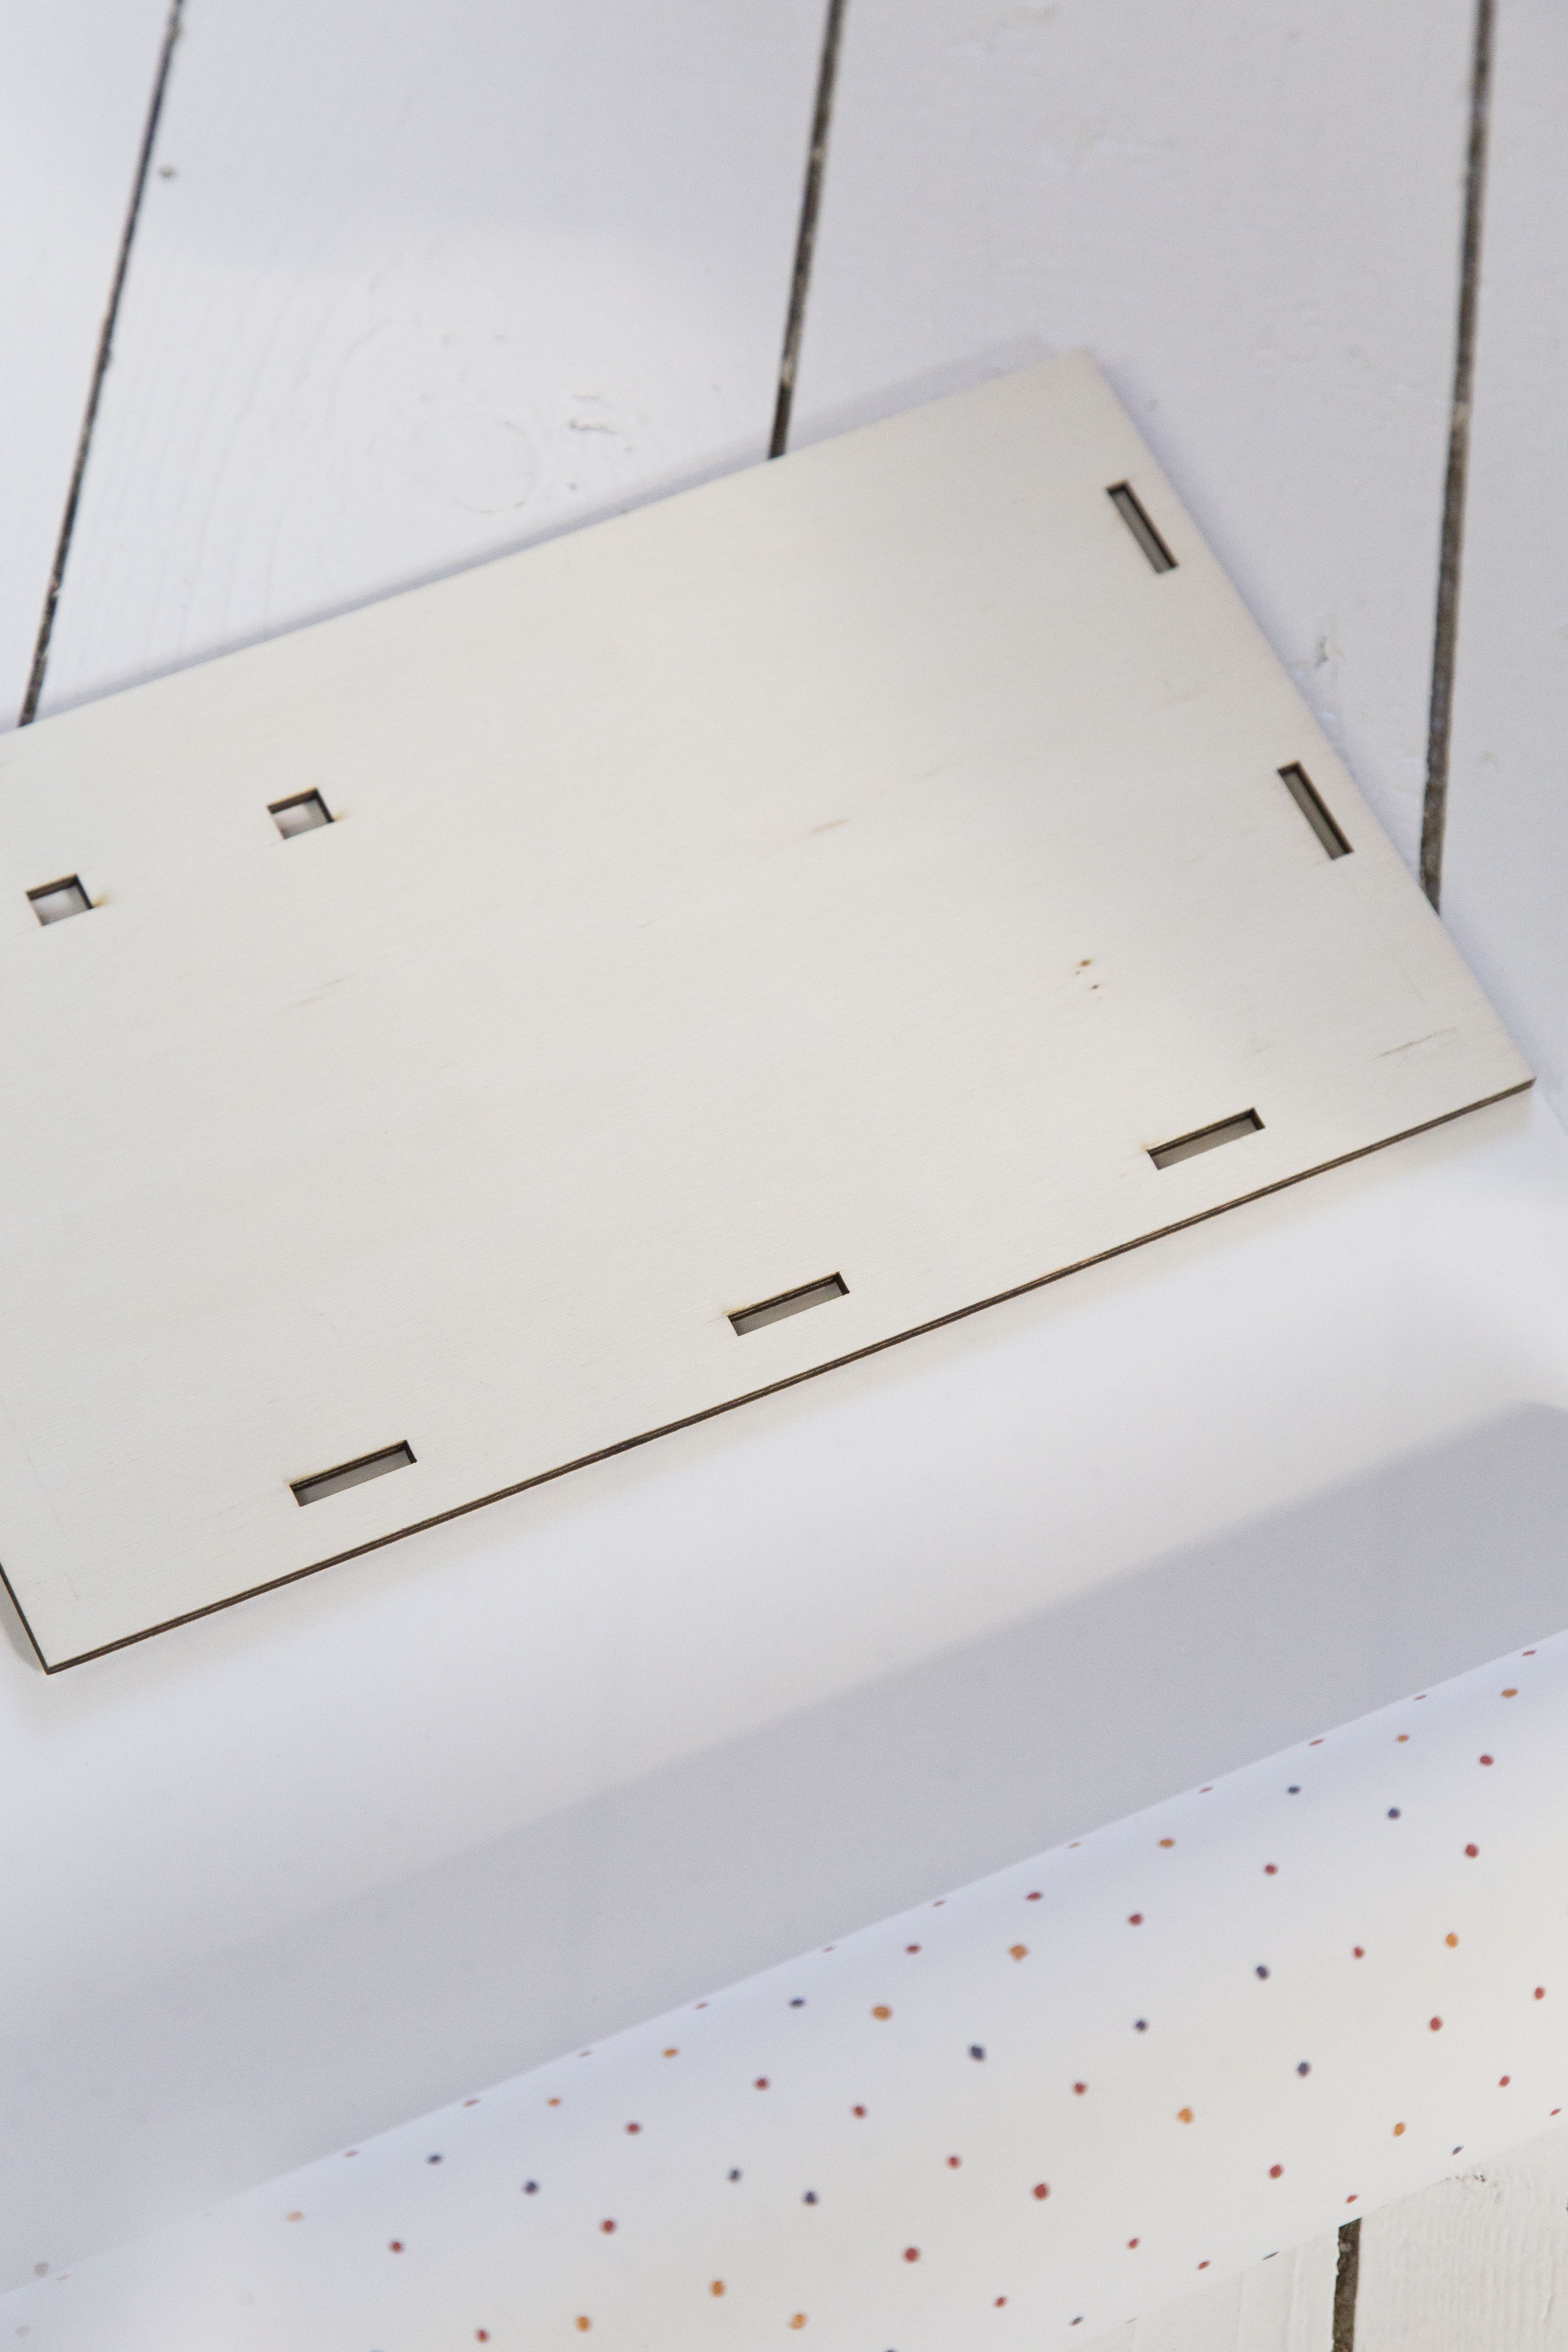
Step 1 – Put together the dollhouse to see if everything fits. This step is obviously not necessary, but since this is a pretty precise DIY, I wanted to make sure I wasn’t working for nothing, so I checked this before I started.
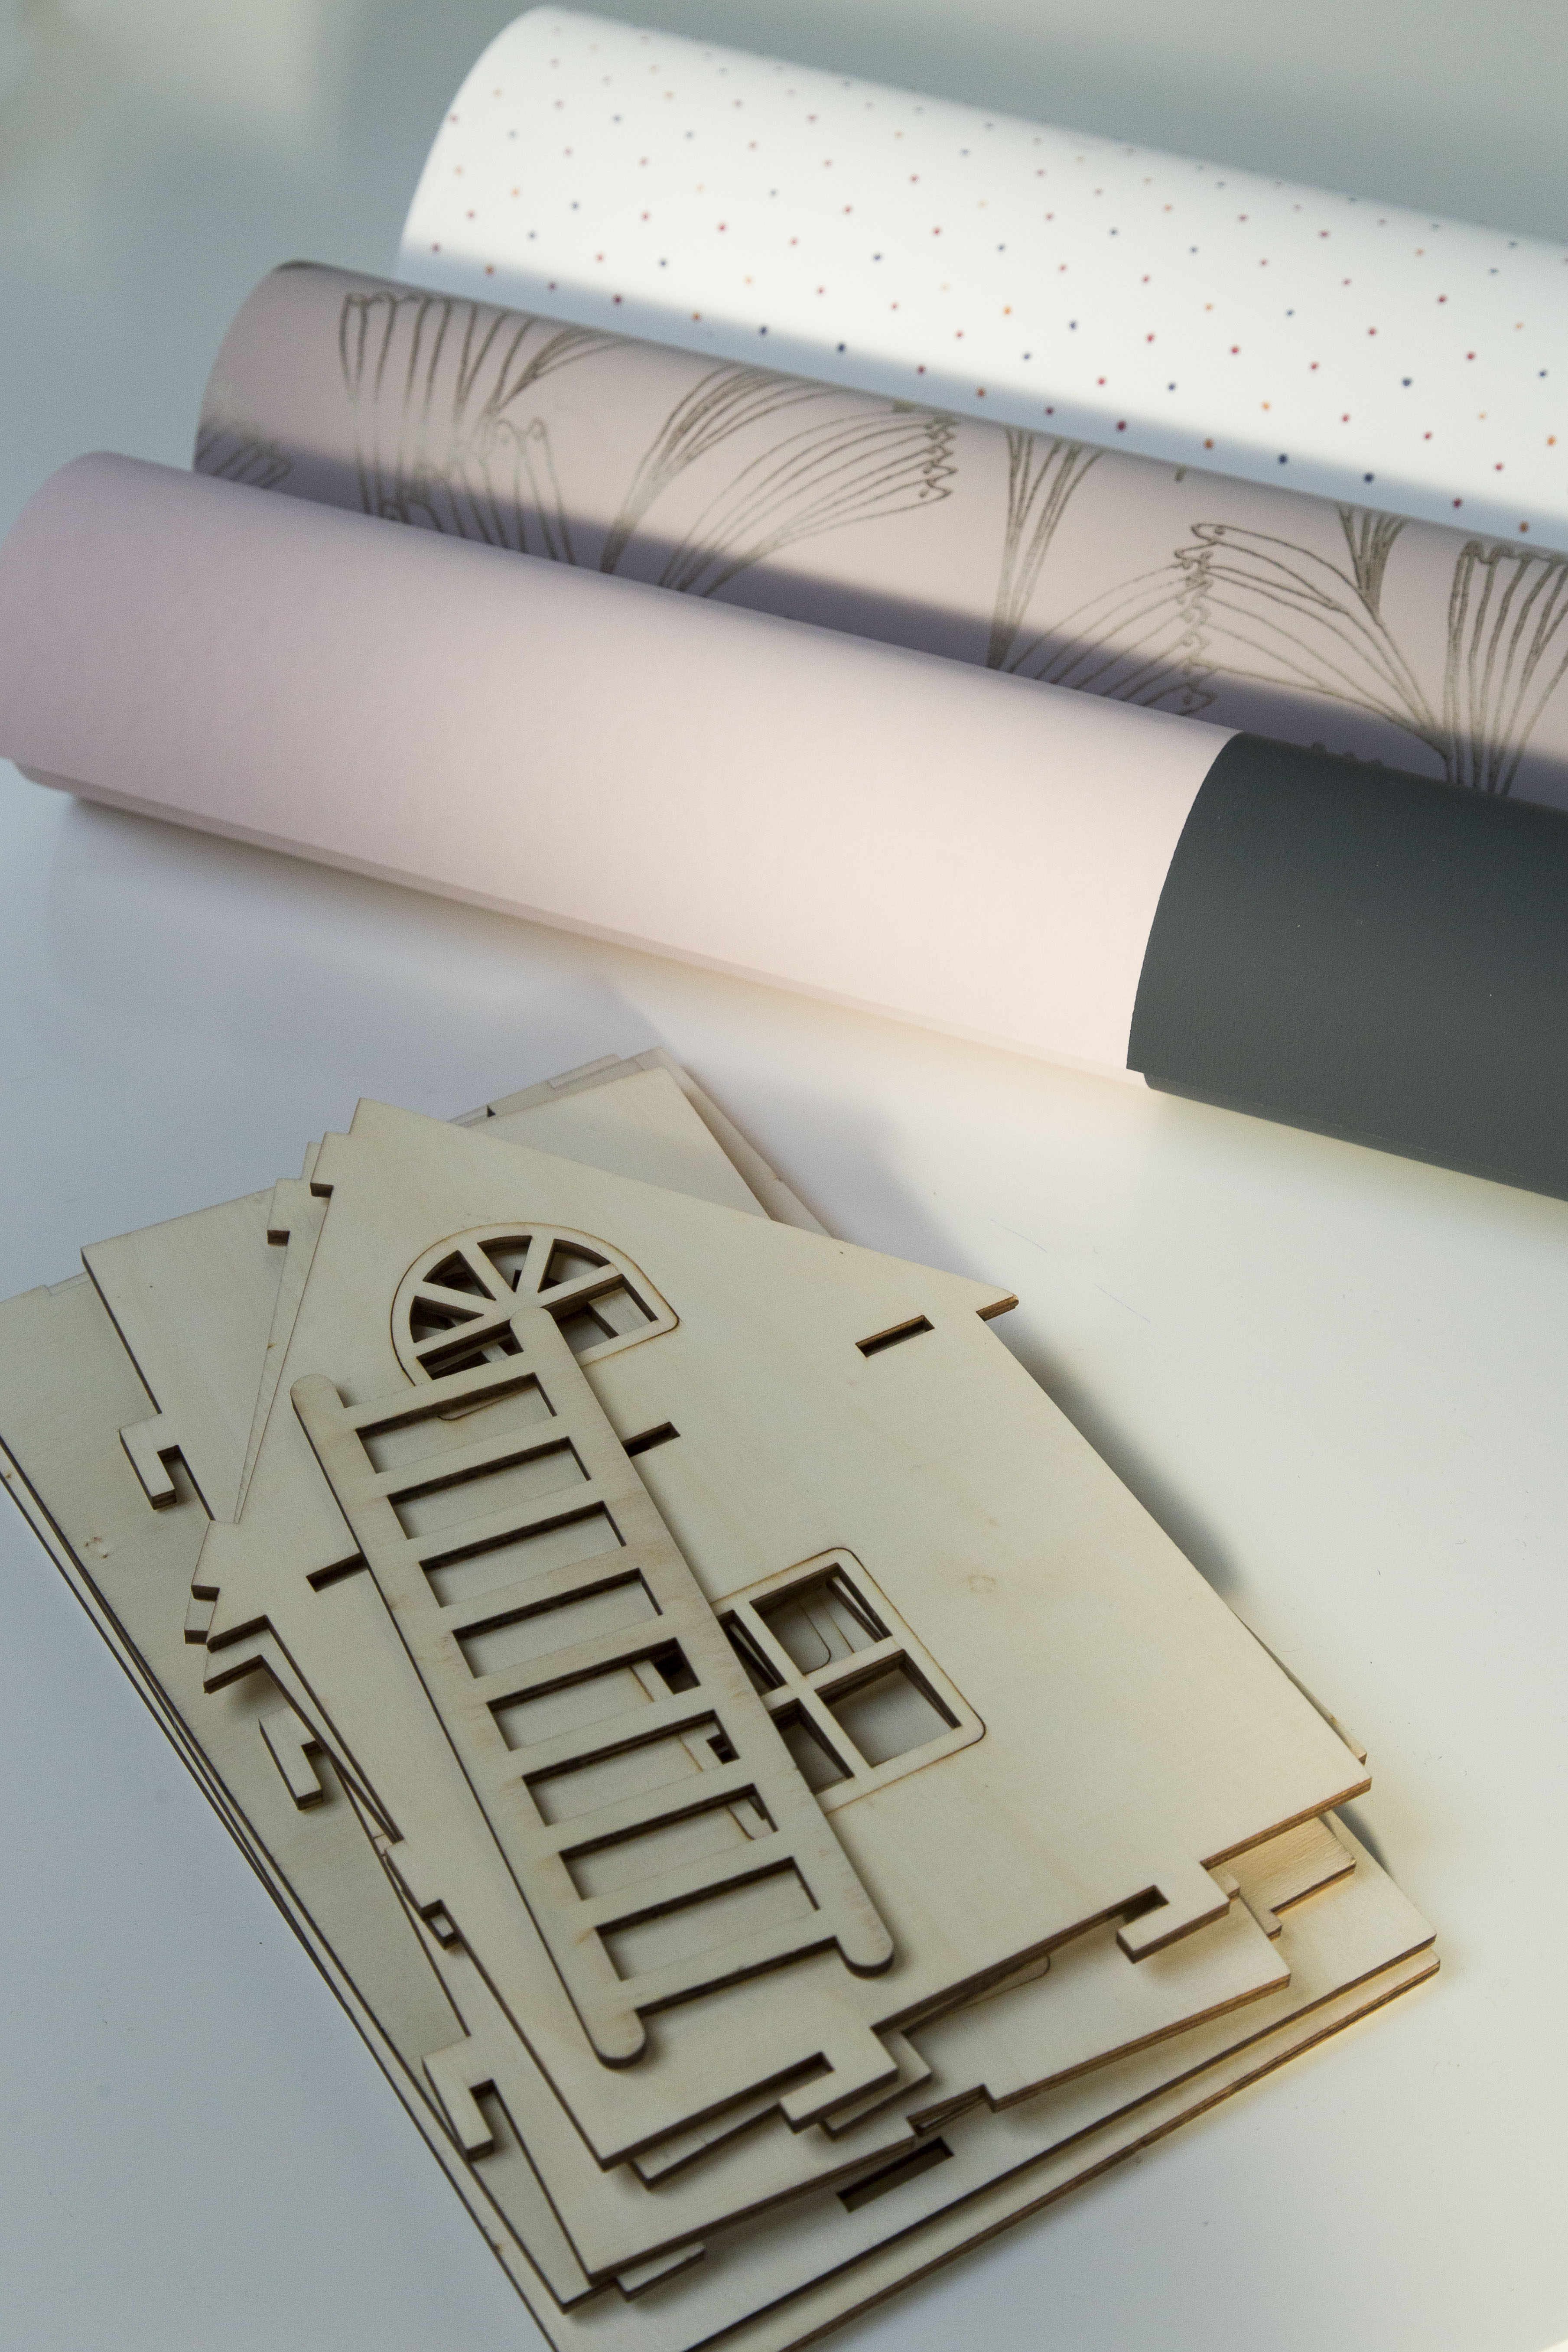
Step 2 – Cut out your wallpaper. After I figured out which wallpaper I would use for which piece, I layed it out on the floor and used my knife to carve it out as precise as possible.
Step 3 – Glue the wallpaper on the dollhouse pieces. I put the glue on the dollhouse and then added the wallpaper. You can move it around a little so make it fit perfectly.
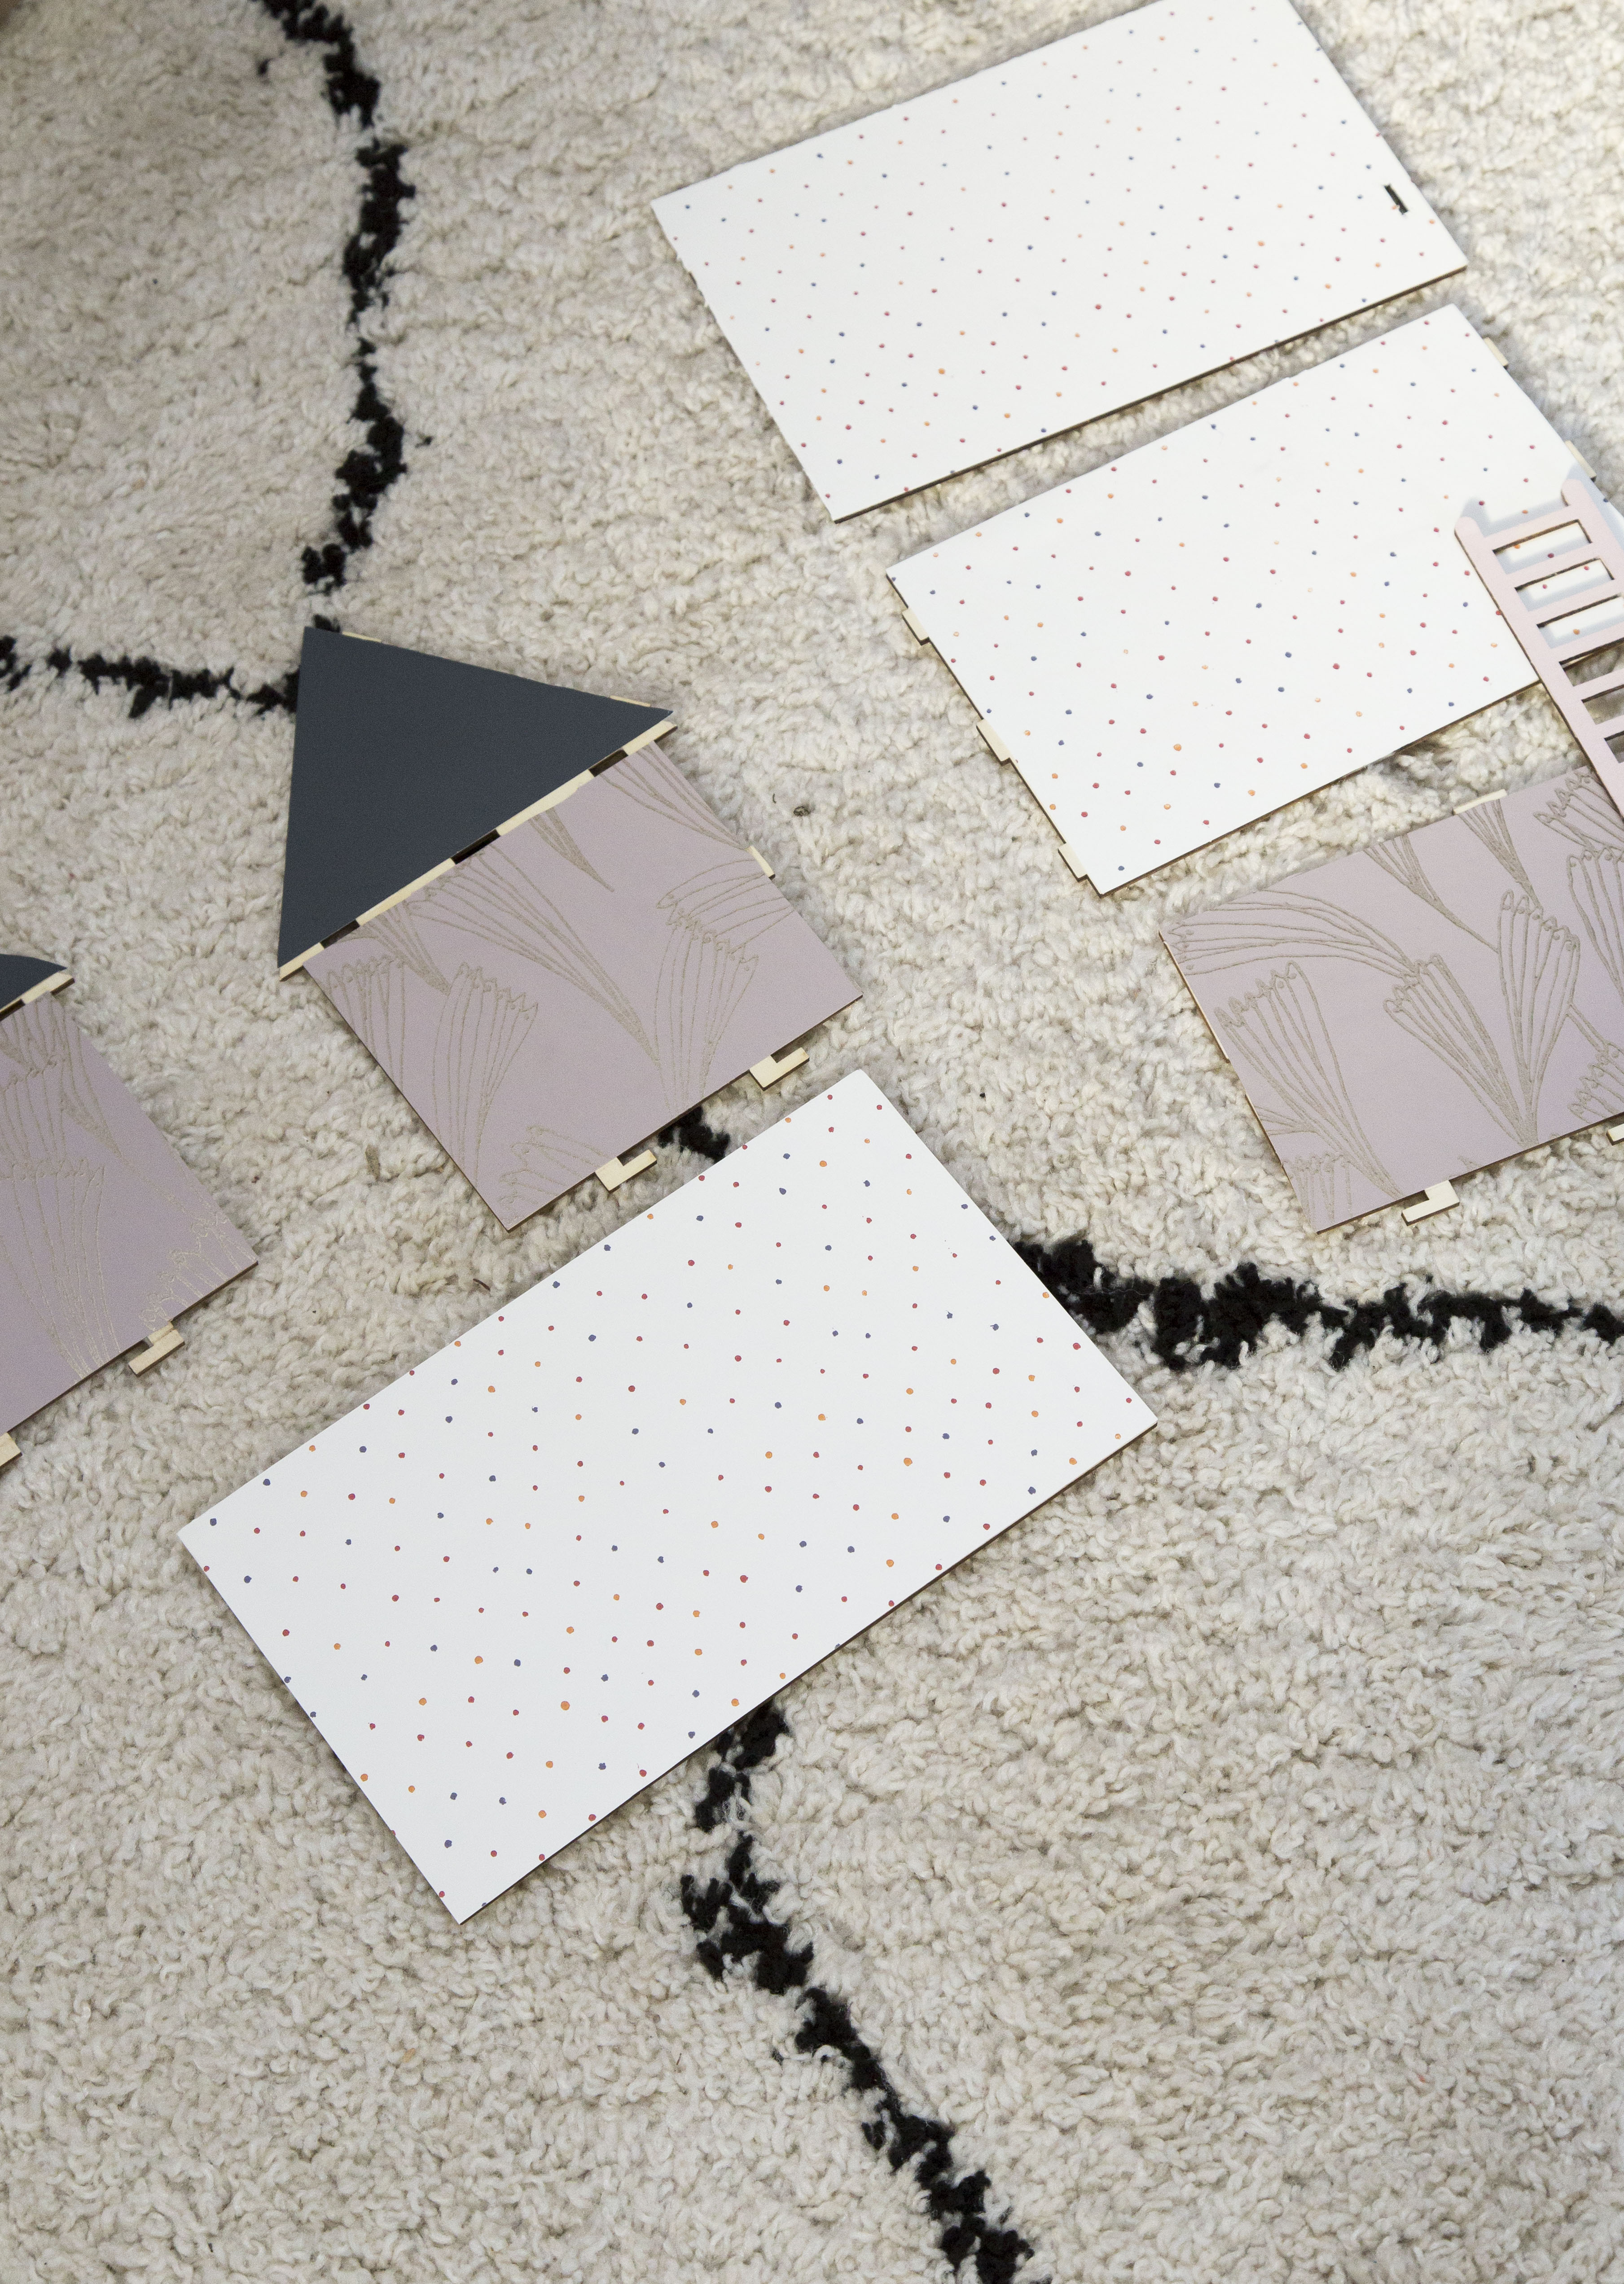
Step 4 – After you glued all the wallpaper on the pieces, give the glue time to dry. You can see I chose a different wallpaper for the top left pieces, as I wanted a different wallpaper for the ground and 1st floor. You’re obviously free to choose yourself! I didn’t wallpaper the stairs as it felt like too much of a challenge, so I found a similar shade and painted it with a brush.
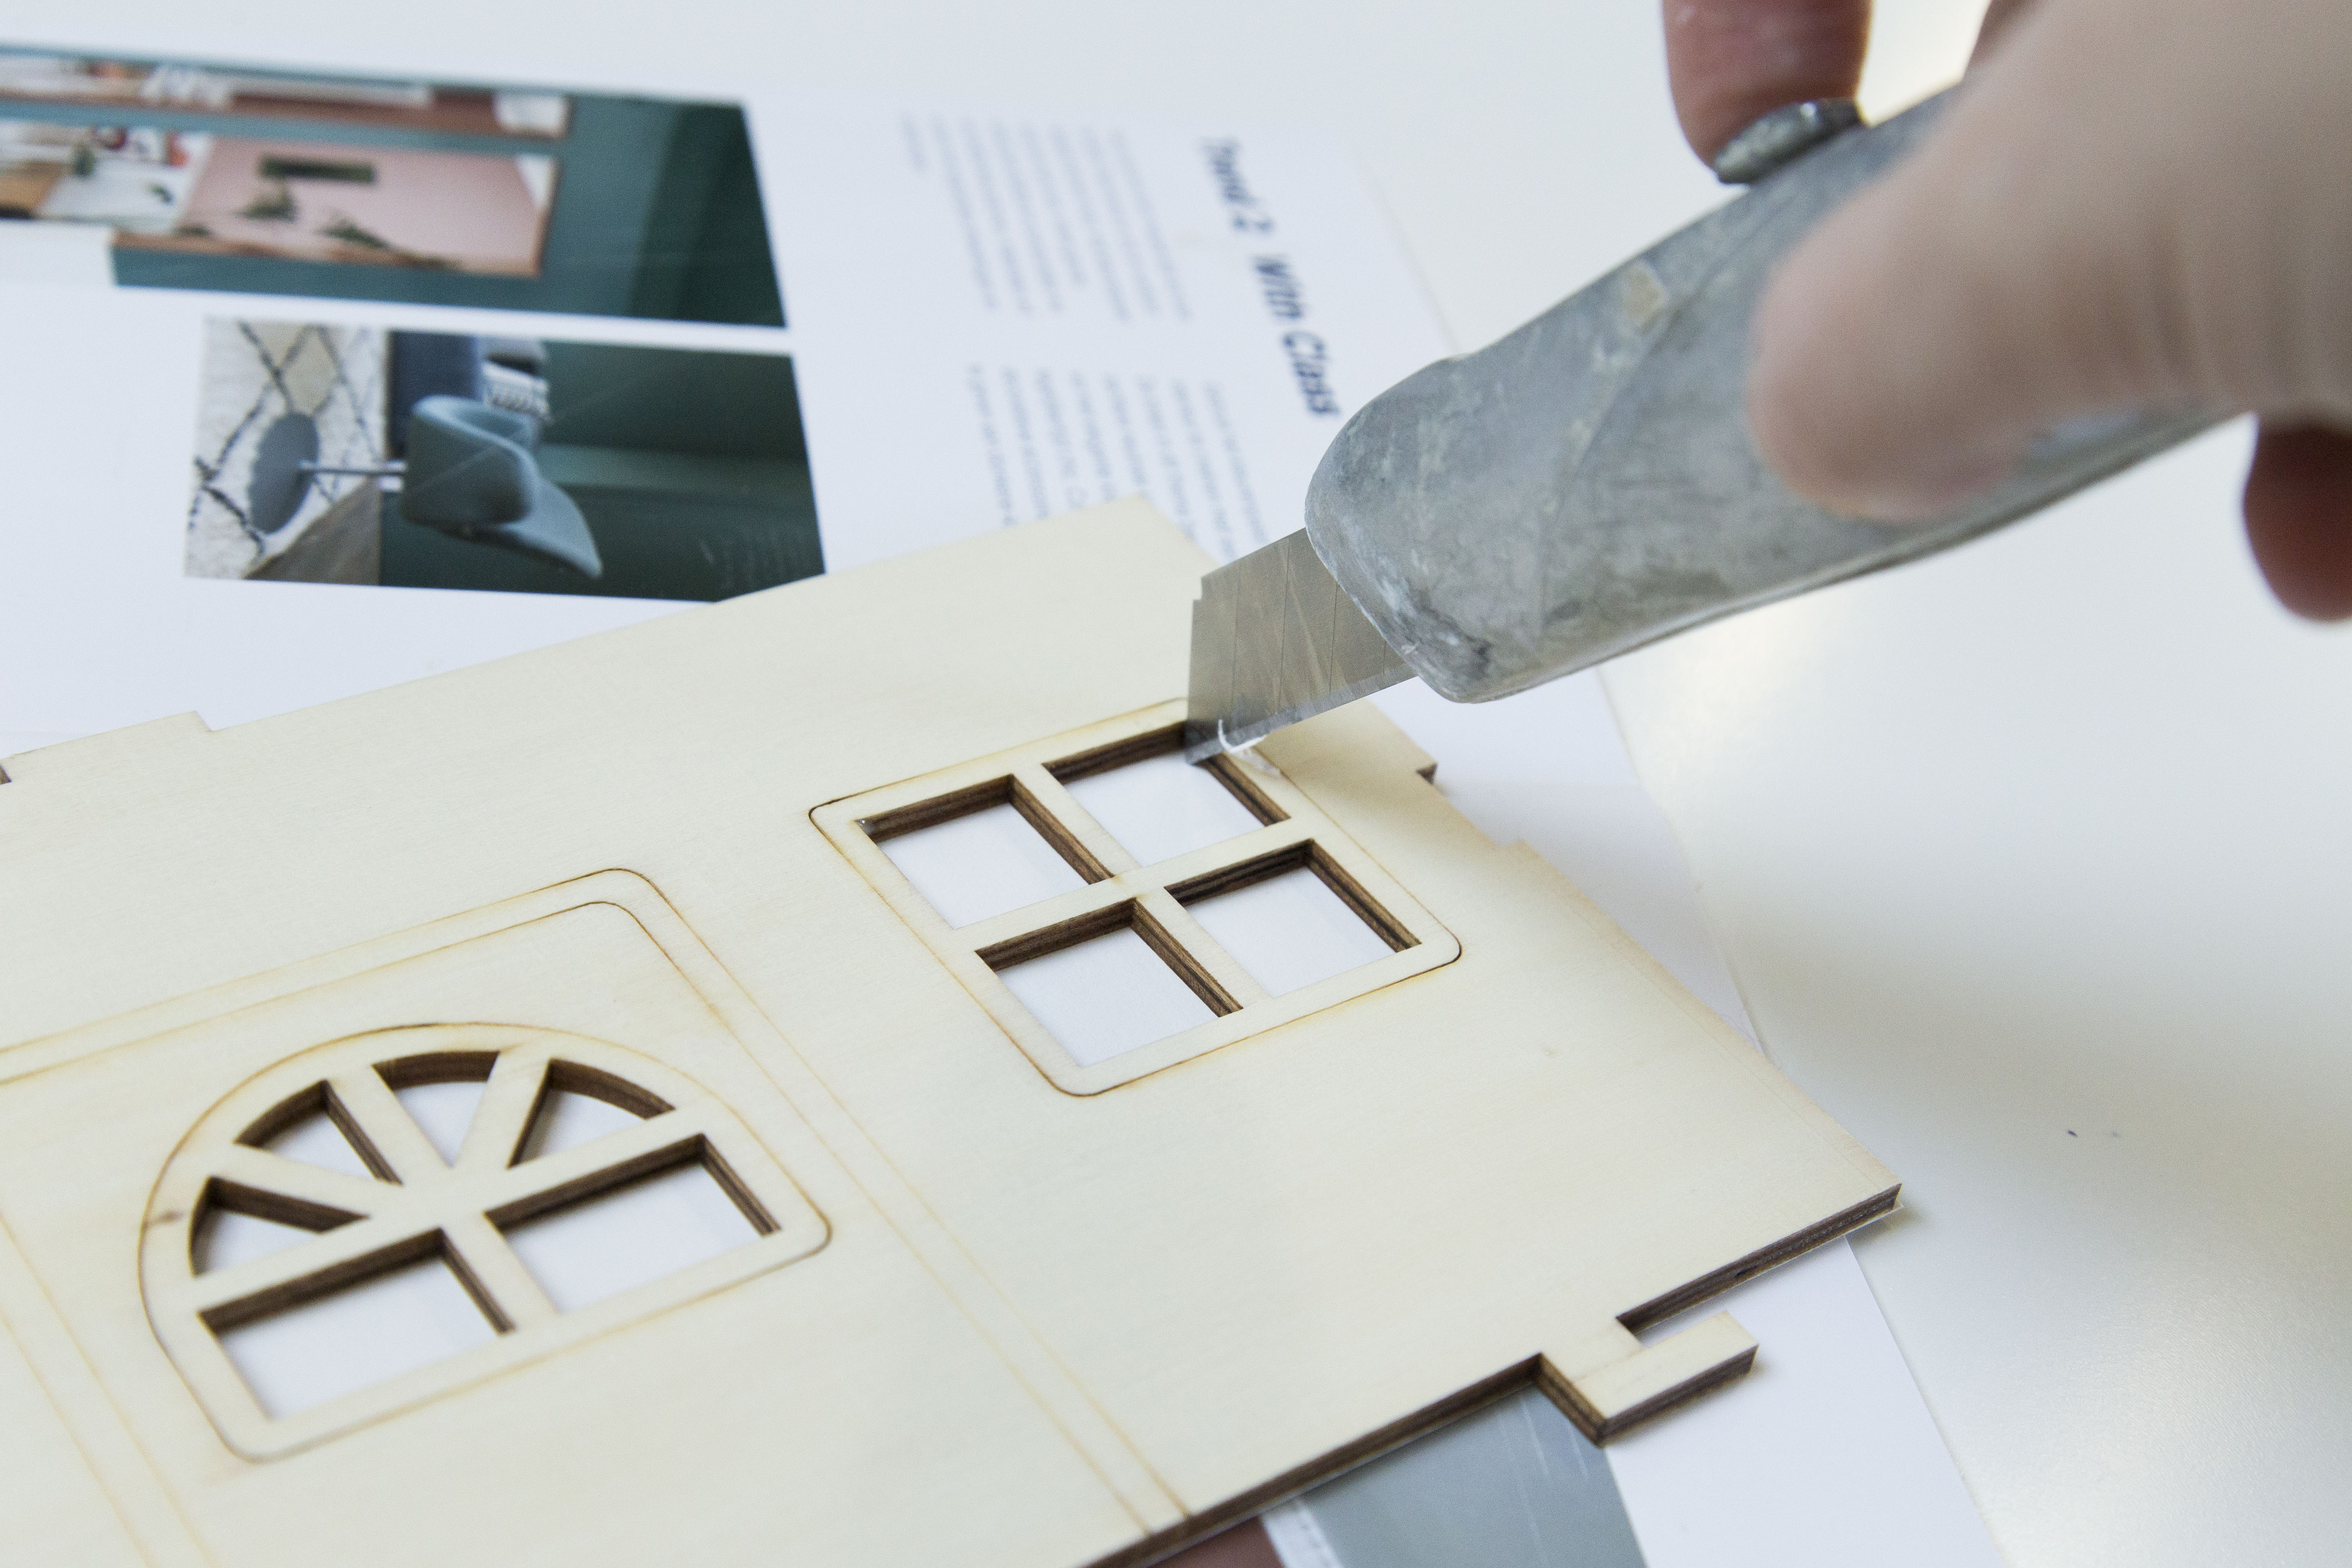
Step 5 – Turn over the pieces so you can easily cut out the windows. It’s very important that your glue has dried; your wallpaper will rip if it’s still wet. A sharp knife is important for this step, as it will make this a lot easier.
Step 6 – Assemble your dollhouse again.
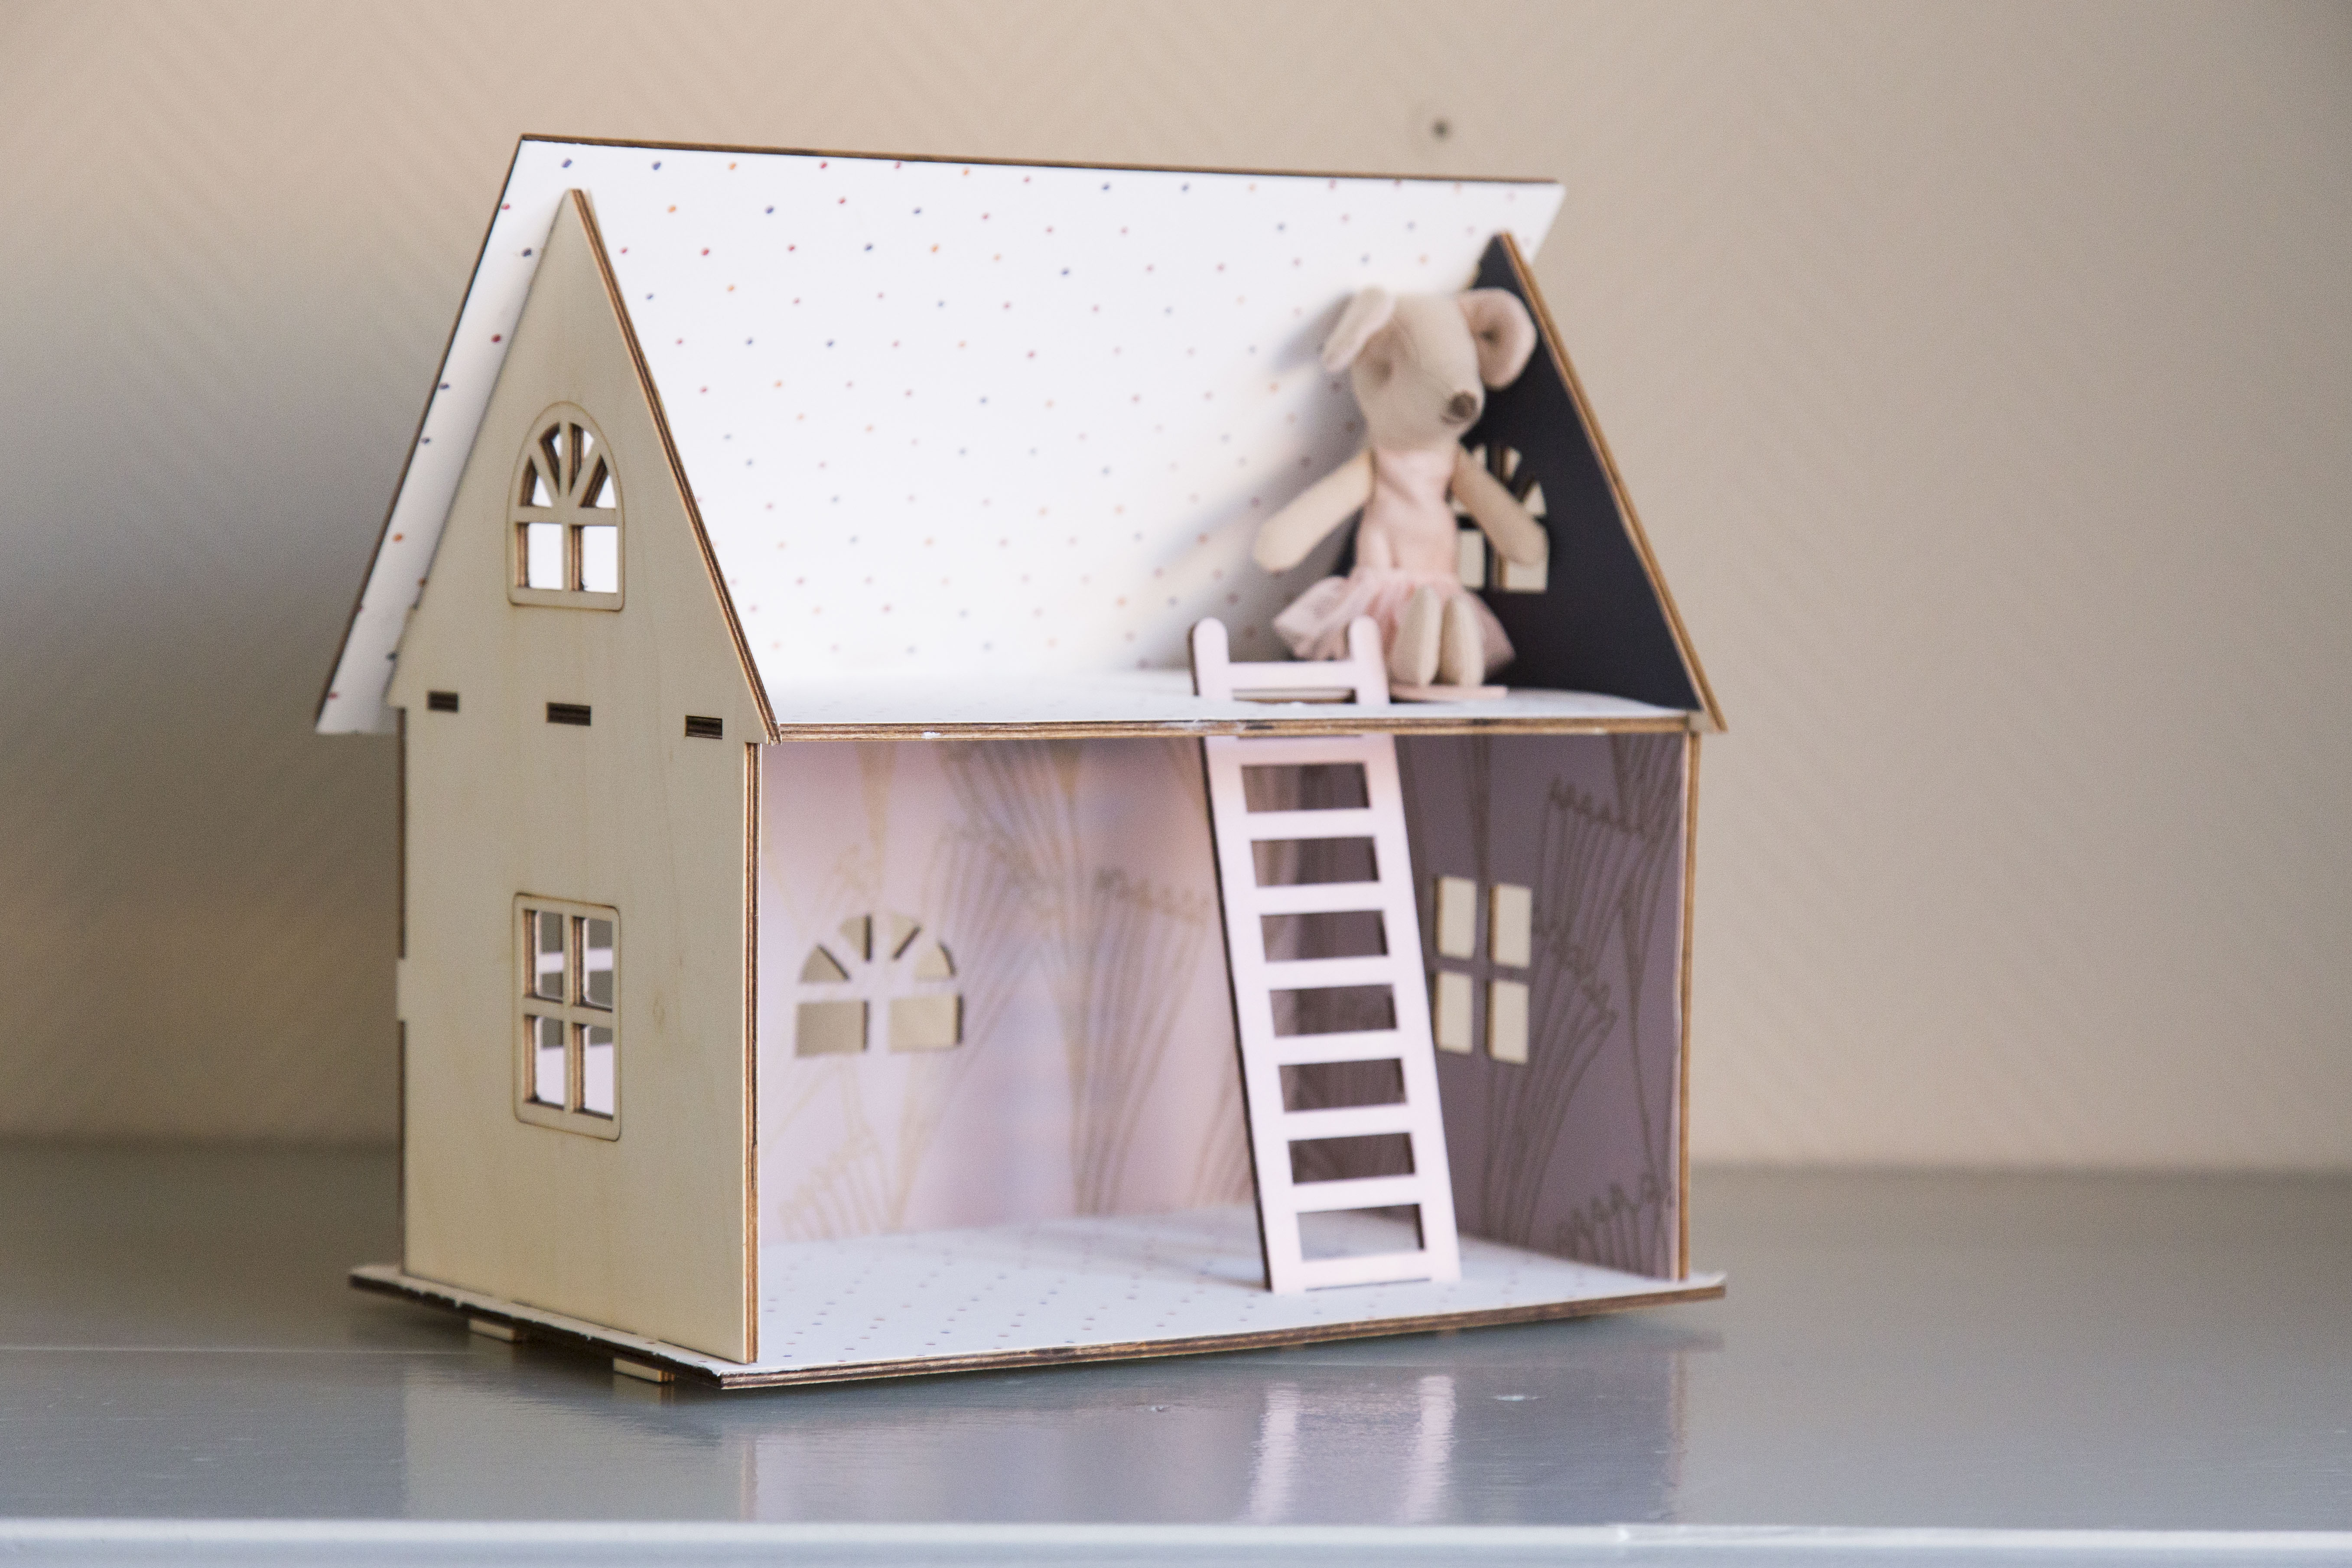
And you’re finished! At first I thought I would wallpaper the outside as well (I was thinking of the dark grey), but I decided not to. The windows featured some pretty details and I felt it made the inside wallpaper pop out better, and that’s what I liked. I added my daughters Maileg Mice as a last finishing touch.
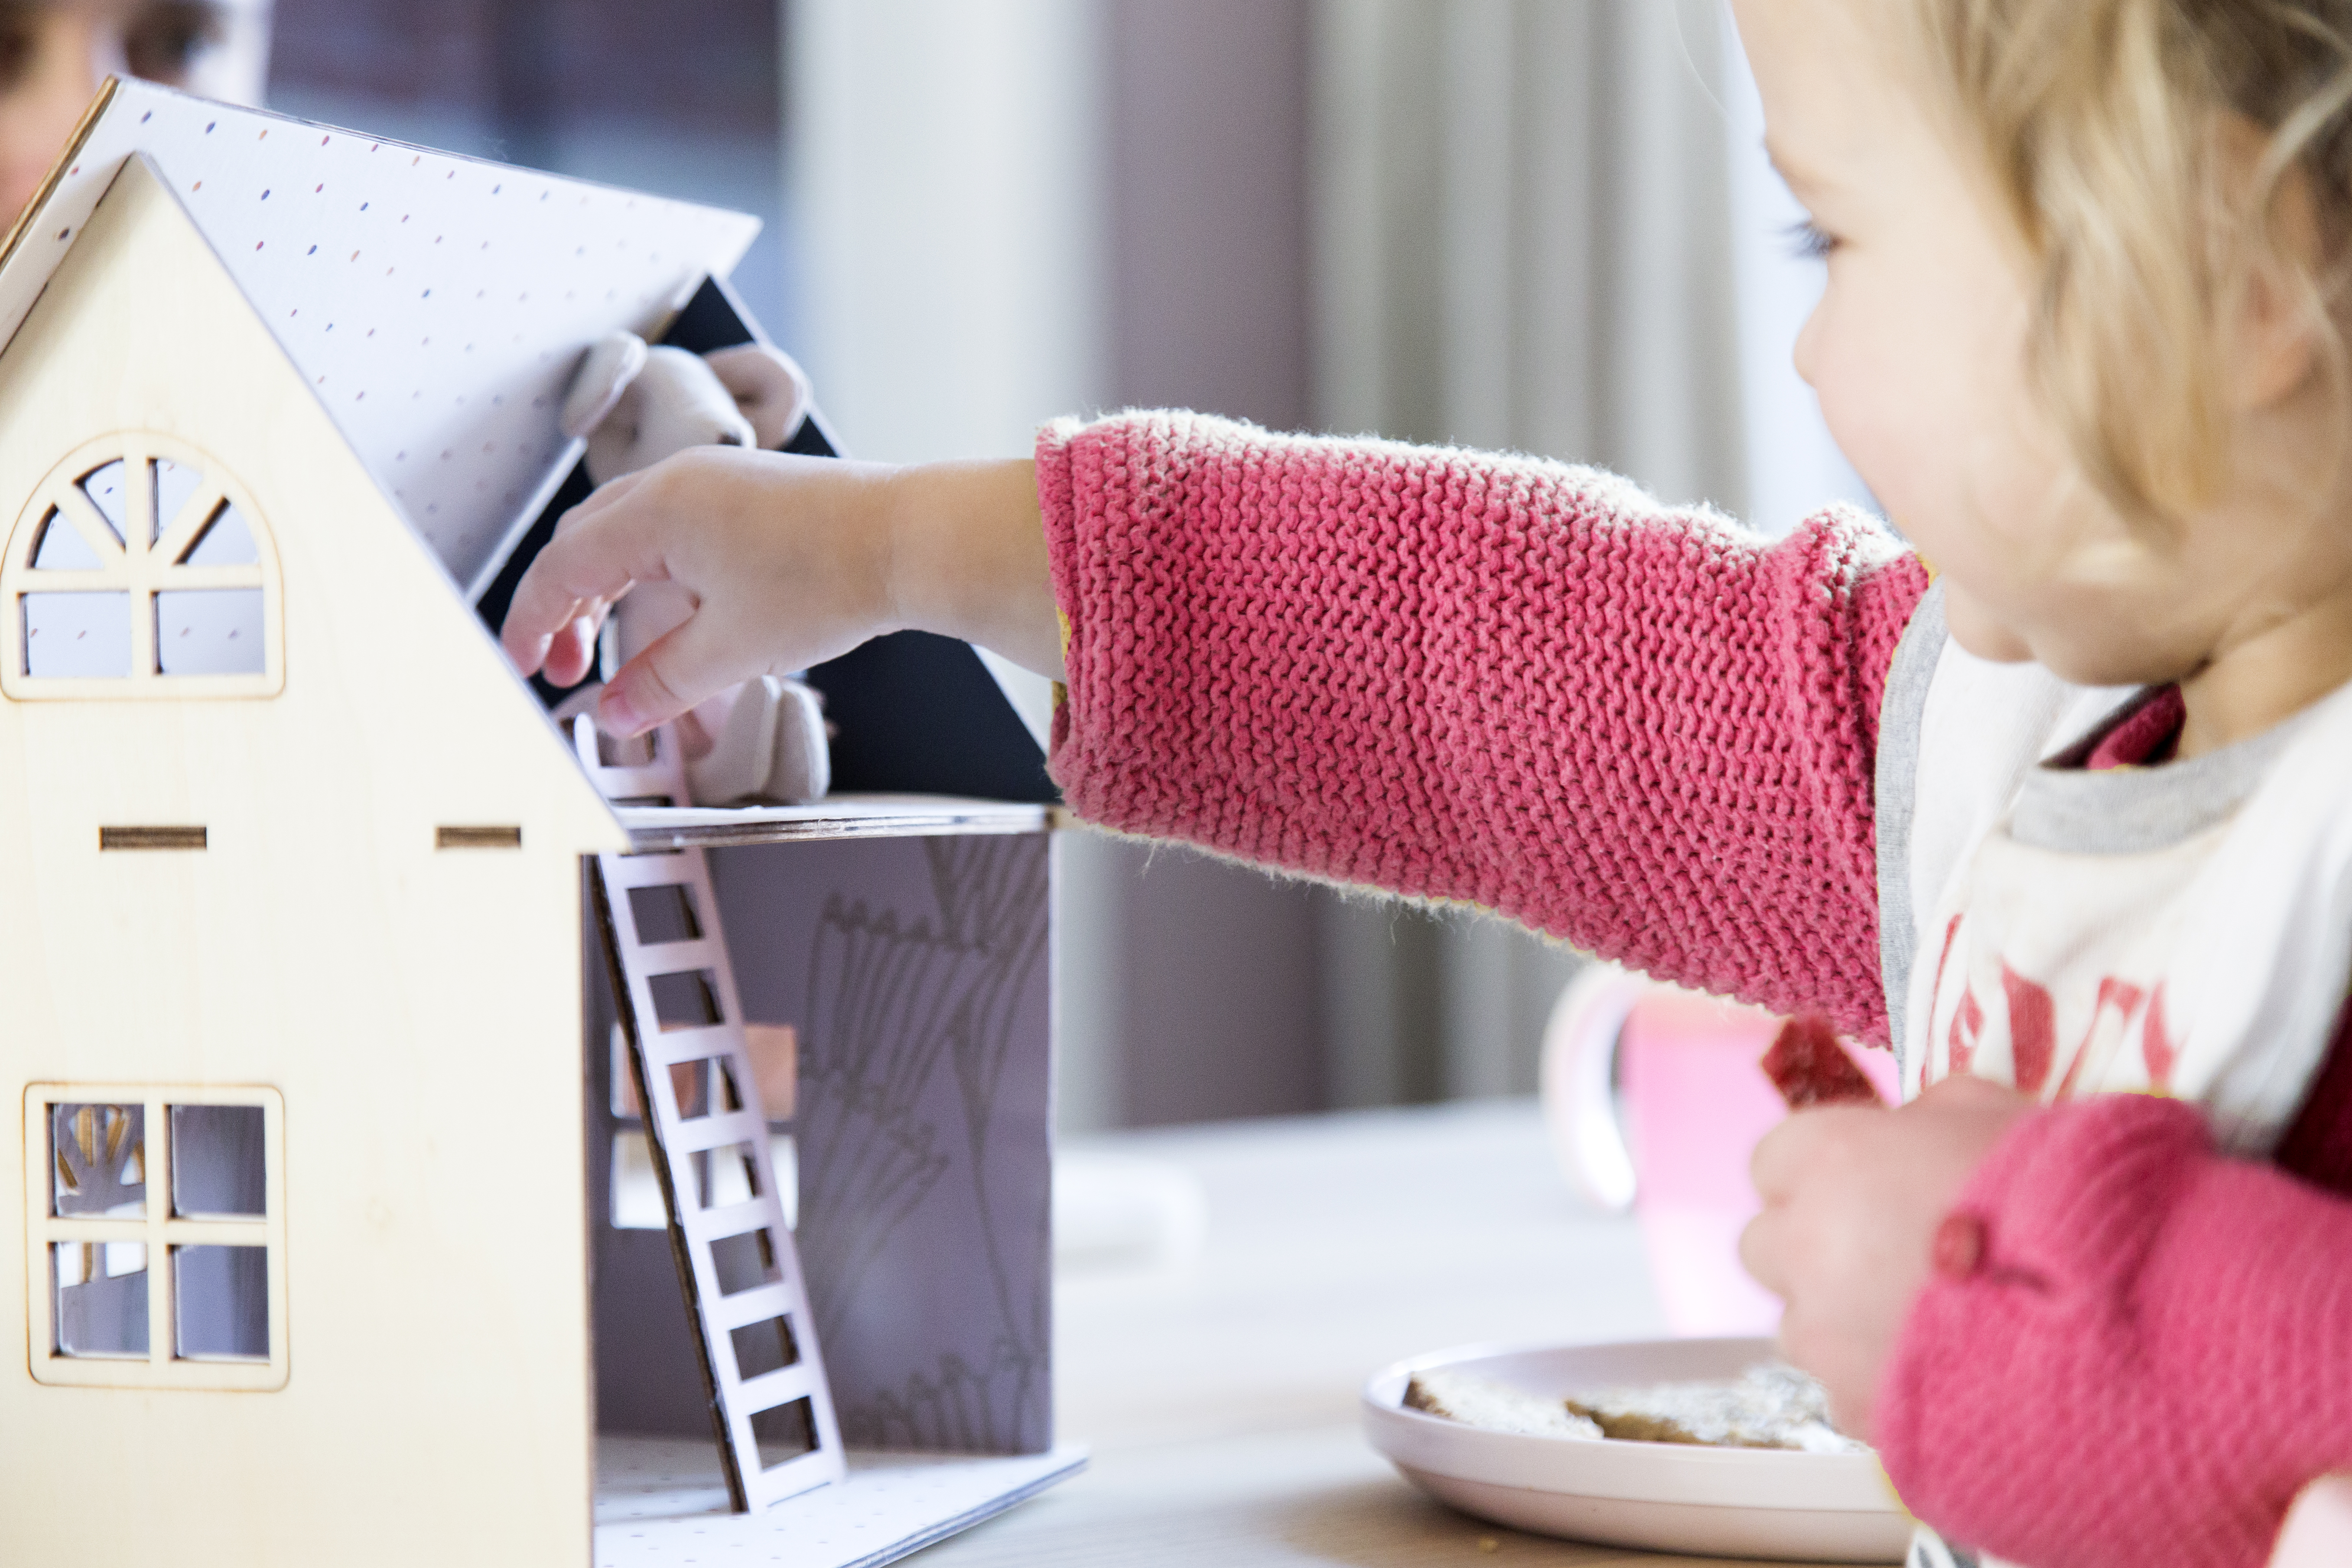
I gave it to her while she was eating and she immediately forgot about her food and started playing. I have to say; playing with the stairs was most popular, ha.
For now I’ve put it in Mia’s room and she can pick it up when she wants. I think it turned out pretty cute, and I’m curious to see how much she will play with it. This DIY dollhouse is not for the impatient among us, but if you take your time, you can really enjoy it. At least, that’s how it was for me! Once you get the flow, you’ll be eager to finish it. I’m even thinking about making a bigger dollhouse for her myself. A next DIY project for the blog to come, maybe?
Thank you so much for reading and thank you Søstrene Grene for gifting me this wallpaper. I very much enjoyed this DIY and I guess our daughter did too! Thank you for reading, and please let me know if you intend to recreate this DIY. Would love to know and answer any questions you may have ♥
x, Marrit
